
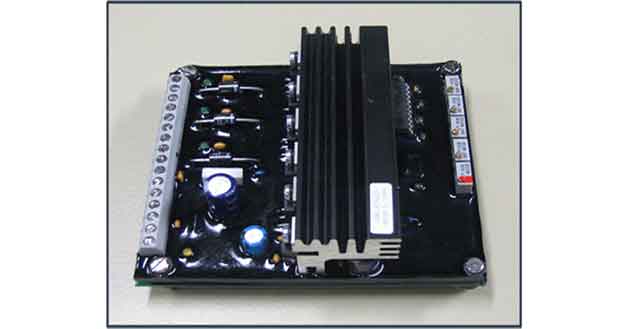
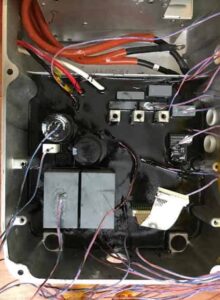
Potting Electronics
PCB potting is a method used to protect circuit boards by filling the PCB’s enclosure with a liquid material called a potting compound or encapsulation resin. The potting compound fills the device’s enclosure and, in most cases, covers the entire circuit board and its components, although in some cases it can be used to pot individual components.
Potting provides excellent resistance to heat, chemicals, impacts and other common environmental hazards. Typical potting compound materials include epoxy, polyurethane and silicone compounds.
Materials required for potting process
- Protective neoprene gloves
- Protective glasses
- Protective suit
- Protective mask
Material for preparing the resin
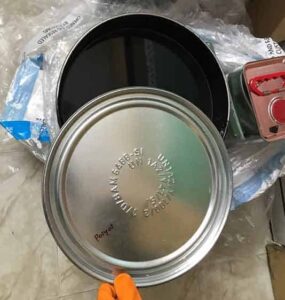
- Bucket
- Mechanical stirrer
- Precision scales
Material for the control of the resin
- Analogue shore a hardness tester
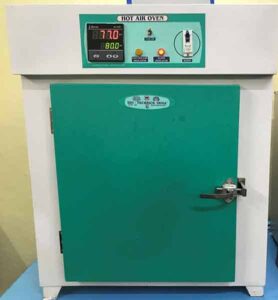
- Hot air oven
Working instruction
A sample potting process as follows. Below given inputs were provided by customer.
Resin qty to be potted: 1.29 kg
Ratio of mixing = Isocyanate: polyol = 1: 6
Isocyanate = 1.29 * (1/ (1+6)) = 0.18 kg
Polyol = 1.29 * (6/ (1+6)) = 1.11 kg
Resin material –>Mixture of Isocyanate (0.18 kg) and polyol (1.11 kg).
Resin level from bottom: 3.5 mm
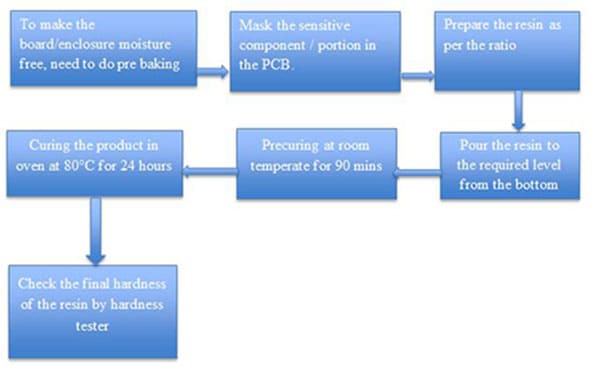
Step 1
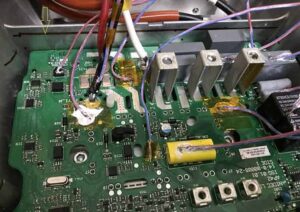
Pre-bake the pcb Enclosure at 60°C to make it free from moisture since the resin material polyol is sensitive to moisture.
Step 2
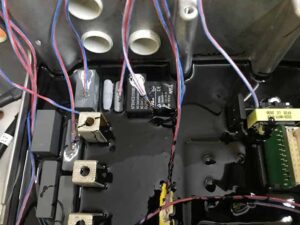
Mark the required resin level with marker so that required resin level can be identified easily.
Step 3
Resin will be prepared as per the required ratio. Before mixing Isocyanate and polyol, need to wear mask, gloves as the safety measure.
Polyol must be homogenized by using a metal rod before mixing since it sediments over time (>24 hours) as a function of temperature.
Place the bucket on the scale and note down the weight shown on display. Now add the weight of polyol with bucket weight. Start pouring the polyol into the bucket and simultaneously notice the display of scale. stop pouring once it reached the new added value
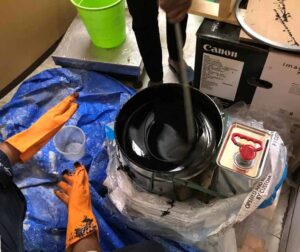
Now note down the current value of scale and add the isocyanate weight with this value. Start pouring the isocyanate into the bucket and simultaneously notice the display of scale. stop pouring once it reached the desired value.
Now mix the two components with stirrer to prepare resin.
Step 4
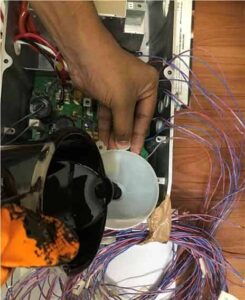
Tilt the enclosure approximately 3° to avoid trapped air underneath the PCB. Here we placed a pad under the enclosure for this purpose.

Step 5
Pour the resin in enclosure at the edge and continue till reaches the desired marked level.
Step 6
Allow the potted enclosure for pre-curing at room temperature for 90 mins.
Step 7
For curing, place the enclosure in oven at 80°C for 24 hours
Step 8
Take out the enclosure from oven once curing completed and check the final hardness of the resin at 20°C with the analogue Shore A hardness tester: Should be between Shore A 85 to 90.
EMSxchange Enables you to select a Printed Circuit Board assembly suppliers meeting your Required PCBA Manufacturing Capability, capacity and Certification Criteria from a global PCB Assembly manufacturer base. EMSXchange takes complete responsibility and ownership for your electronic manufacturing process and all its deliverables from contract manufacturing supplier selection to manufacturing to quality inspection to shipment and delivery to your door. EMSxchange Electronic Manufacturing Partners Profile includes:
Argus Sytems (AESPL) – PCBA, Cable Assembly, Box Build.
Cerra Systems inc – PCB Manufacturing.